5 PRO BEDROOM MAKEOVER TIPS GUARANTEED TO CREATE THE PERFECT SPACE
By Heather
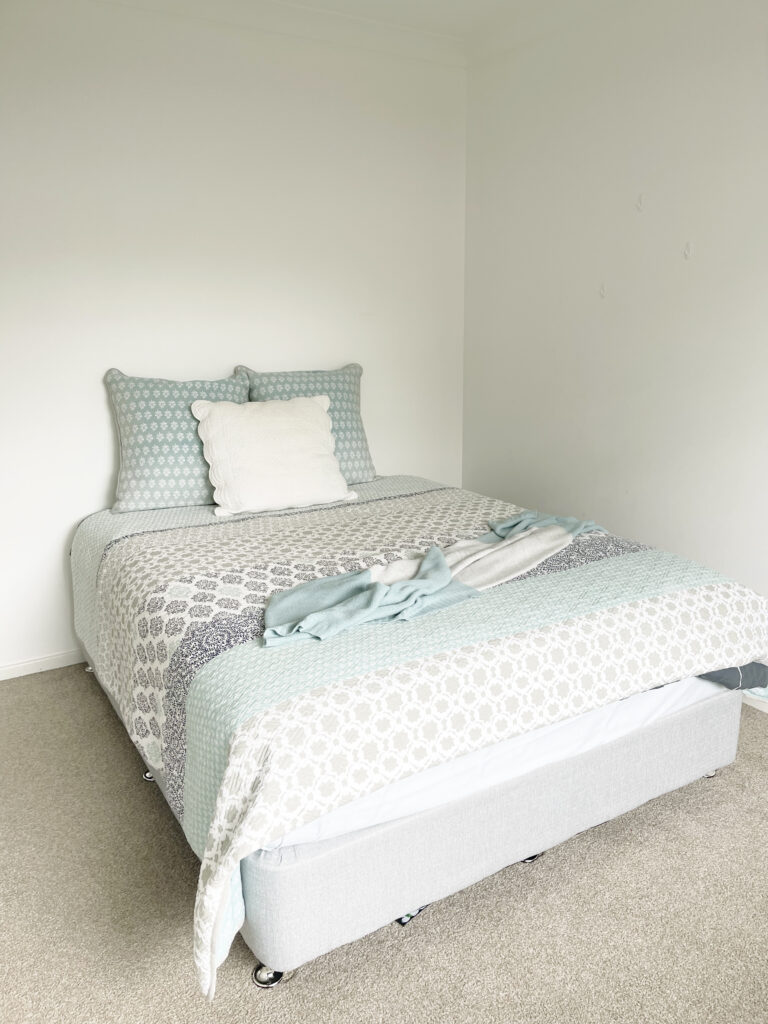
Have you ever finished a bedroom makeover that you just weren’t happy with? You spend hours creating a space but somehow your reality looks nothing like the vision you had floating around in your mind. Sometimes all the good ideas just don’t play out the way we thought they would and all we’re left with is disappointment and wasted time and money. That’s why we’re sharing our 5 pro bedroom makeover tips guaranteed to create the perfect space.
We’re going to show just how we perfected this bedroom makeover and how you can too! From how to fine tune your vision board to just how helpful your mood board can be, we’re helping you get it right for yourself, the first-time round!
We’ll also let you in on some common mistakes to avoid, the quick and easy way to mark up and measure, and how to find the perfect pairing for your bedroom furniture. Here goes…
1. START WITH A VISION BOARD
I always like to start with a vision board to help me stay on track. Sarah will be the first to tell you I can easily get distracted on my design journey. #itsnothard
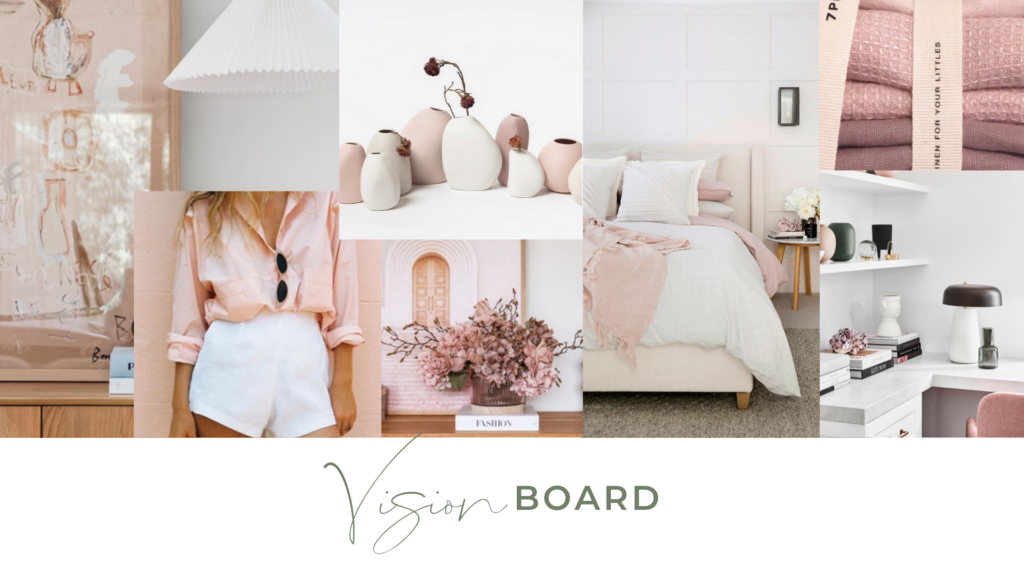
The brief for this project was fashion, feminine and floral. What a combo! Below is the super simple vision board we kickstarted this bedroom makeover with.
Head to Pinterest to get the creative juices flowing and snag some design ideas. Warning: don’t fall down the research rabbit hole. Once you’ve found your fave inspo shots you can easily create a vision board like this one in Style Source Book, Canva or even Microsoft Word. The key is to start with loads of inspo pics and slowly remove images until you are left with 6-8 of your favs.
HOT TIP
Your vision board doesn’t need to be full of pics of bedrooms. You can take inspiration from cafes, restaurants even your favourite clothing! Who knew?! Keep your vision board on hand as you move onto the next step.
2. CREATE A MOOD BOARD
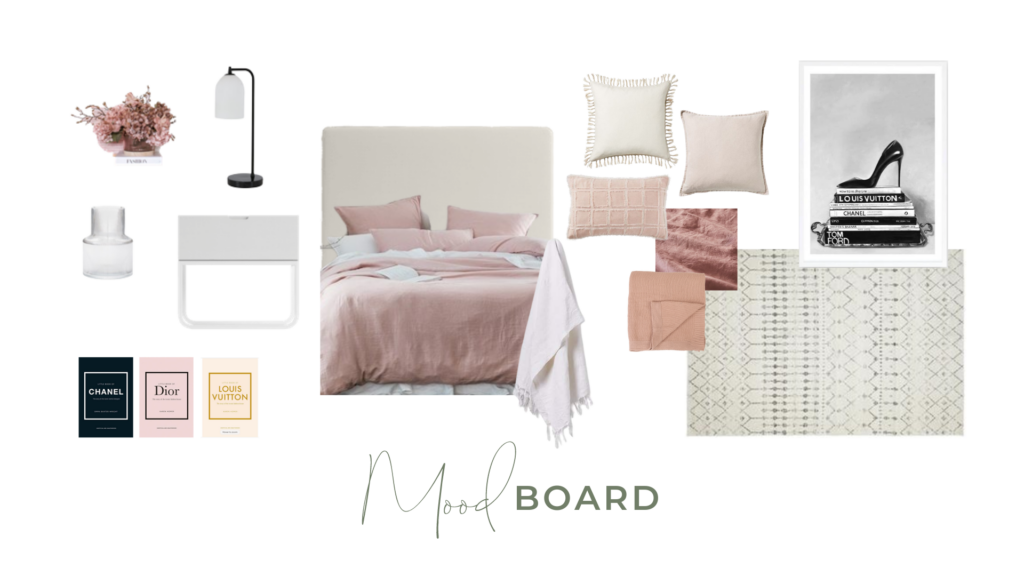
The mood board is where the fun really begins!
It’s the very best way to visualise how each element will look together in the completed room. This step right here will save you ALOT of disappointment (and money).
You will be amazed at how quickly you decide if you really love something or if it suits your vision just by adding it to your mood board.
For this project, we found our artwork early in the process. It was the perfect statement piece to achieve the fashionable yet feminine feel for this bedroom makeover.
Creating a soft feminine room was going to be a challenge when tasked with using fashions favourite colours alone: black and white. For this reason, we decided to limit black and grey to ensure we nailed the feminine aspect of the room. We’ll share more on this later.
In this bedroom makeover, we didn’t need to repaint or replace the flooring, but if you are, it’s a good idea to have these pics on your mood board too.
3. AVOID THIS COMMON BEDROOM MAKEOVER MISTAKE
If there is one thing, we’ve learnt in all our years of styling, it’s that you should make sure that your big-ticket items such as the bedhead and bedside tables are the perfect pair! Why? Because in years to come when you want to restyle your bedroom, you’ll be able to keep these main pieces and they’ll still go together AND suit other styles, making your makeover simple and cost-effective.
One of the most common mistakes we see people make is choosing matching bedroom suites. Those days are over. Although it can seem like the simple and easy option, taking this matching approach can give you limited options in the future. Following steps one and two will give you the confidence to choose non-identical yet perfectly paired furniture pieces for your bedroom makeover. Just like we did here….
4. MEASURE AND MARK UP
Before you add to cart or swipe your credit card, grab yourself a tape measure and painter’s tape. It’s a cheap, quick and easy way to make sure your furniture, artworks and rug will fit well in the room. Once you have marked everything out, make sure you still have room to walk around and open doors. When in doubt with rugs and artworks, we always suggest going bigger for greater impact.
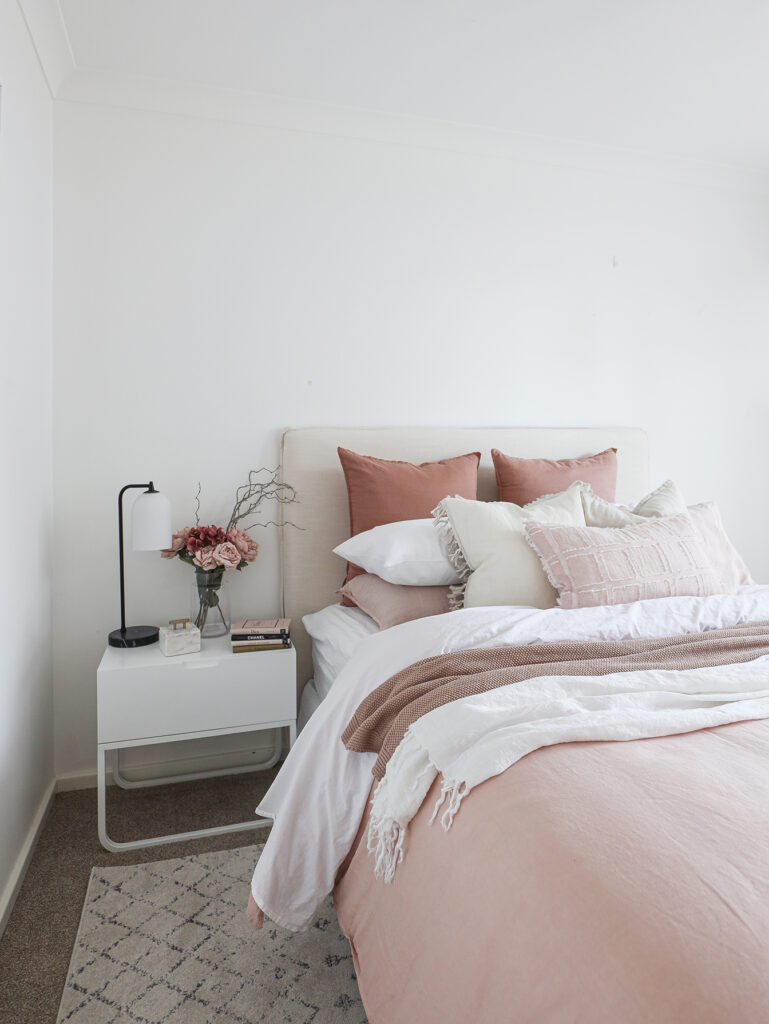
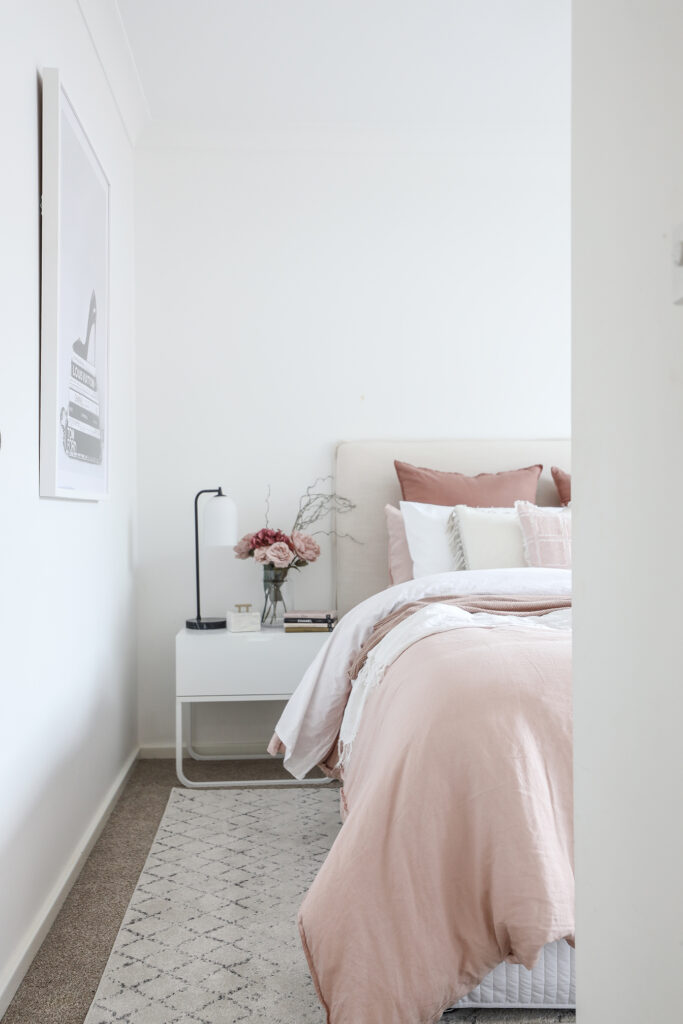
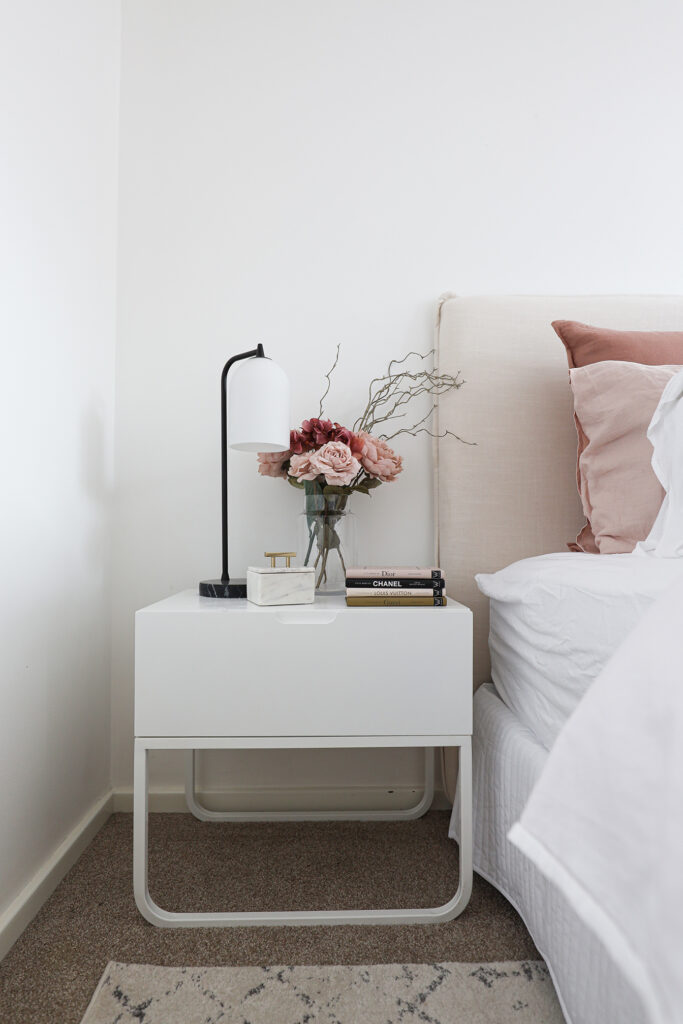
After we did our measure up for the bedroom makeover, we knew the space was a little tight. For that reason, we chose to use just one bedside table. At 60cm wide, the Slim Bedside Table from Brosa is a little wider than most and comes with a deep drawer for added storage. The unique curves on the legs added the soft feminine feel this room needed too.
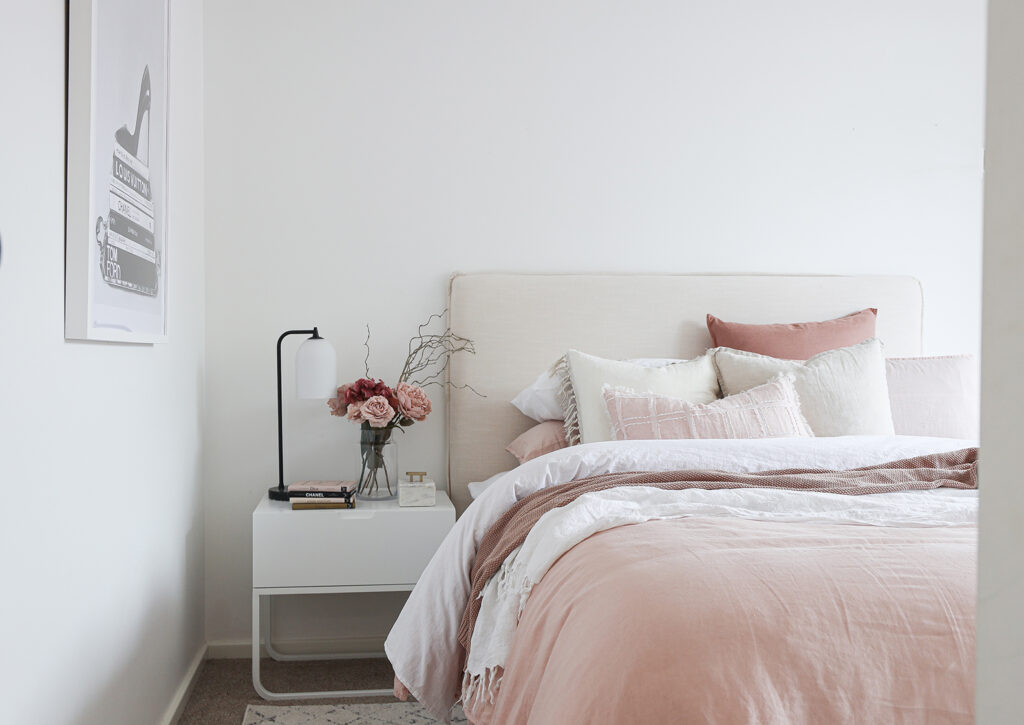
We personally love ensemble beds with bedheads, they’re just so easy to make. No need for trying to tuck in the sides. Heading back to the vision board we narrowed the bedhead down to Brosa’s Sara Bedhead in classic cream.
We loved the soft feel of the fabric, and the rounded corners complimented the corners on the bedside table.
These were our perfect pair, and we knew they could suit different interior design styles in the future should the room call for a freshen up. The Sara Bedhead comes in a few different colours, and you can even get a gas lift bed frame if you need more storage. #whodoesn’t
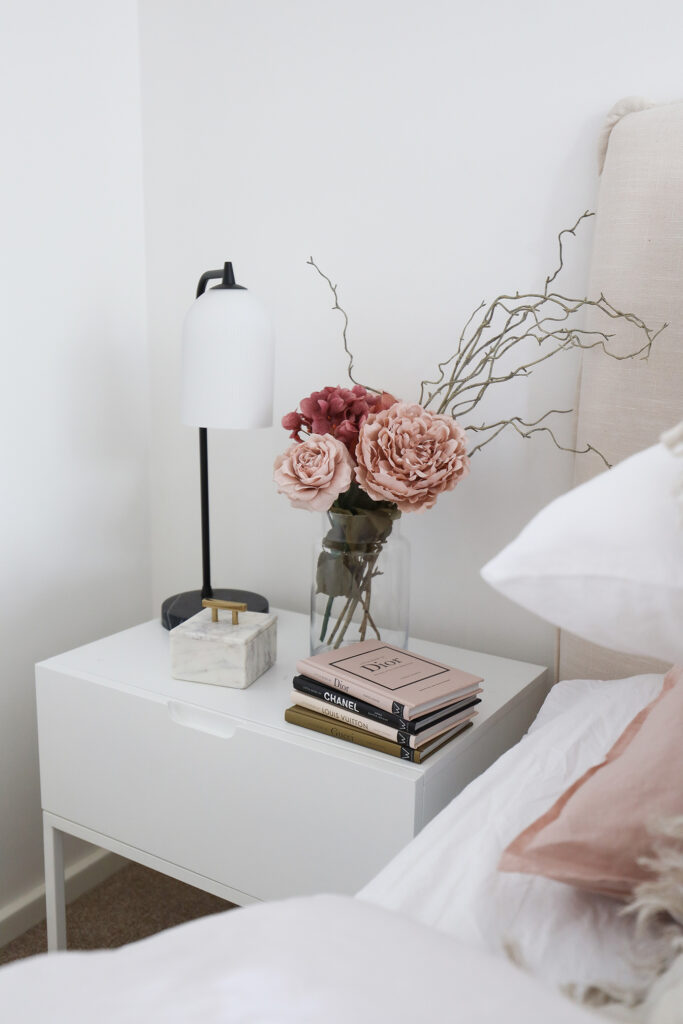
5. THE FINISHING TOUCHES
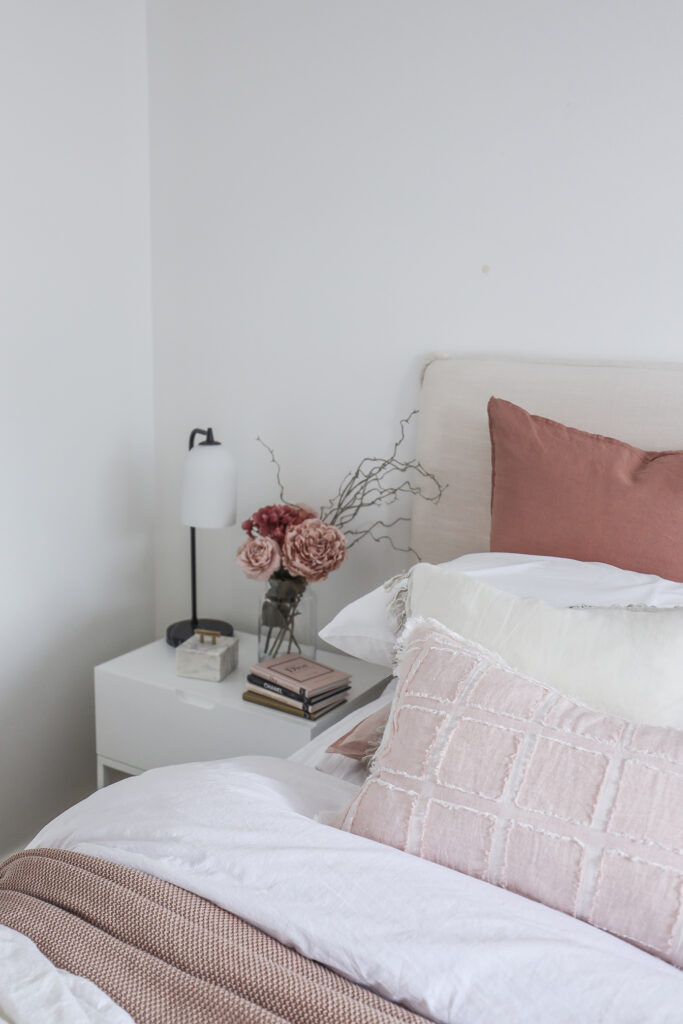
The flowers on our vision board were the inspo for our bed linen palette and they helped to add colour and contrast against the white walls and cream bedhead. To compliment the bedhead, we added a couple of cream/natural cushions too. We also chose a similar colour rug that helped to lighten the whole room. Featuring a soft and subtle grey pattern, this rug repeats the colours from the artwork and curved black and white lamp, tying all the pieces perfectly together. #voila
There you have it! Steal our 5 pro bedroom makeover tips and you’ll be creating the perfect space in no time, saving yourself $$$ and disappointment on the other end.
What’s your favourite piece in this room? Let us know in the comments below.
We use cookies to ensure that we give you the best experience on our website. If you continue to use this site we will assume that you are happy with it.